Painting a bathroom may be a challenging task, but it is not subsequently difficult to paint.
A new coat of paint can make a bathroom look as well as feel more modern and cleaner, if you paint your bathroom like a pro with the right tools and prep tips.
The majority of people frequently paint their family room or bedroom.
However, painting a bathroom is a little different than painting other parts of the house.
Bathrooms are cramped, and filled with water from various sources used frequently.
Bathroom painting requires special attention to every step from surface preparation and colour selection to painting technique and finishing touches if you want excellent outcomes.
You can select various paint colours and textures for each of these elements depending on your taste in home interior design and decor.
As I have discussed 11 ways to paint the bathroom by yourself in this article with some ways, and tips to paint the bathroom.
So, let’s begin!
Steps By Step Process to Paint a Bathroom Like a Pro:
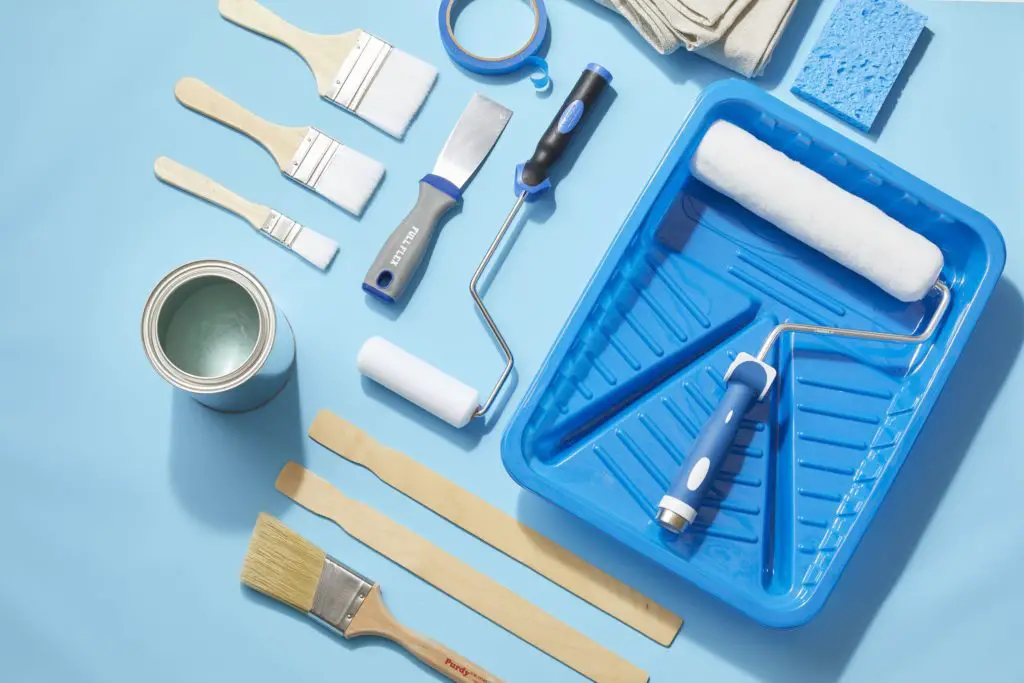
1. Collect Tools and Equipment for Snappy Corners:
You need the right tools for a professional finish, and you shouldn’t cut corners on quality because doing so could affect the finish.
It prevents you from getting clean lines and makes it more difficult to apply paint in the first place.
The following are the requirements for painting a bathroom by yourself:
Tools / Equipment:
- 1 roller for paint, 1 2-inch sash brush.
- 1 painting tray with a liner.
- 1 Phillips screwdriver, 1 Flathead screwdriver.
- Plastic material.
- A roller cover.
Materials:
- Latex interior paint.
- One roll of masking tape.
2. Pick the Bathroom’s Best Paint:
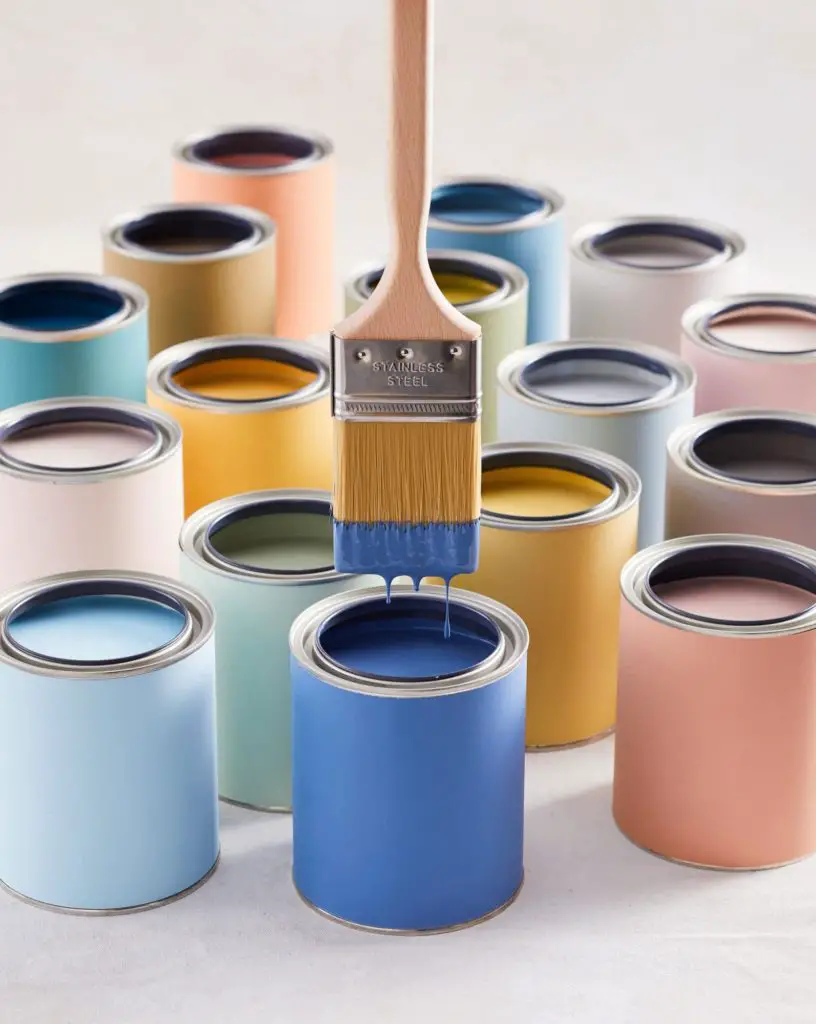
No matter how hard you try to avoid it, water will undoubtedly get on your paint because bathrooms are moist environments.
Some paint producers in the market have mould-inhibiting ingredients as well as a better surface for withstanding moisture.
You might want to spend a little more on a high-quality brand of paint even if you don’t want to purchase specialized bathroom paint.
Some of the more affordable paints have a very small number of solids but the same pigmentation as the more expensive paints.
Solid elements are dry to form the acrylic-latex layer that protects your wall.
Since they contain more solids therefore more durable, better (and frequently more expensive) paints frequently pay for themselves.
Consider how glossy the tile’s surface is the next time you’re inspecting shower tile.
Higher gloss sheens tend to offset moisture and debris best than flatter sparkles, but they also draw attention to flaws in the wall.
An eggshell finish can be easily cleaned if your wall has rough patches or stains.
3. Determine the Amount of Paint You’ll Need:

Calculate the amount of paint needed for your room.
Stopping your work on a project to run the shop for paint will be the last thing you want to have to do.
4. Clean All Surfaces Before Painting Them:

Your paint job can be seriously hampered by embedded materials like soap scum.
You may get away with not cleaning the walls in some rooms of the house.
Particularly, bedrooms and dining rooms typically require quick dusting.
Cleaning the walls in the bathroom is essential, the nice paint job around the bathtub and shower surrounds may peel off due to soap scum.
And that’s assuming you can initially make the paint adhere.
As it is so cheap to remove the grime, and won’t harm your paint job, trisodium phosphate, or TSP may be regarded as a miracle cleaning product.
5. Take Away the Toilet Tank:
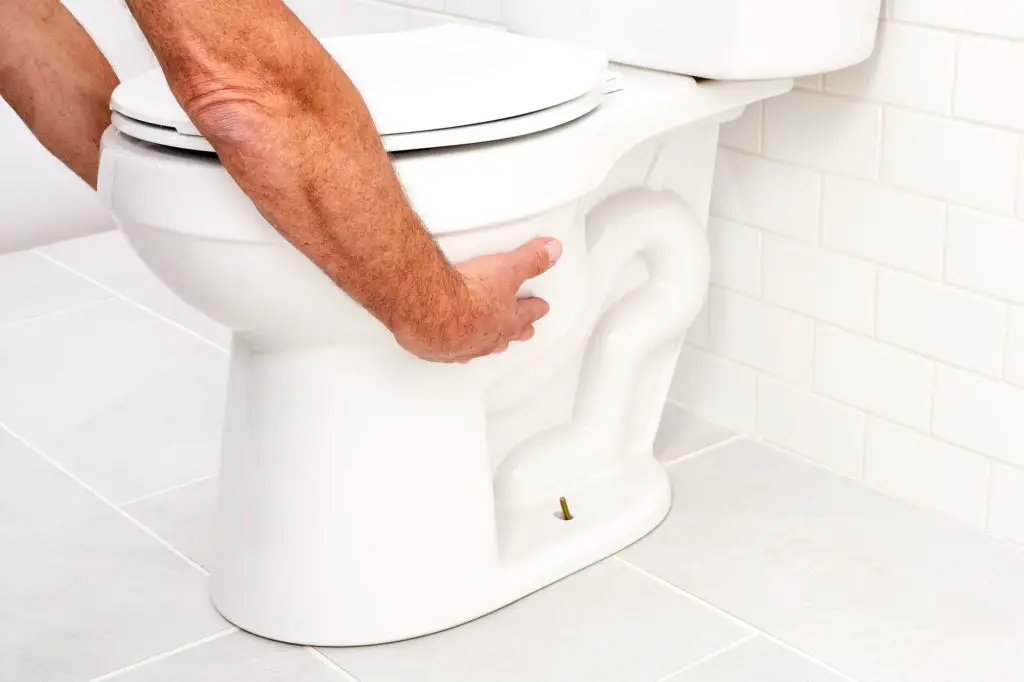
Painting around toilet tanks is extremely challenging to do well.
The tiny space between the tank and the wall is particularly the problem.
You must cautiously apply the painter’s masking film and painter’s tape all around the tank due to the small area to get a solid colour.
Instead of attempting to get around the obstacle, the best course of action is to eliminate it.
The toilet tank can be removed easily and without much mess.
Typically, a toilet has two parts: the bowl and the top tank (or base), the base is the messiest part, and it won’t be cut out.
To isolate the tank while leaving some old towels on the floor to grab spills, turn off the water supply at the ceiling shutoff valve, flush the toilet to remove all water, and then dry the area with a towel.
6. Minimize All Other Barriers:
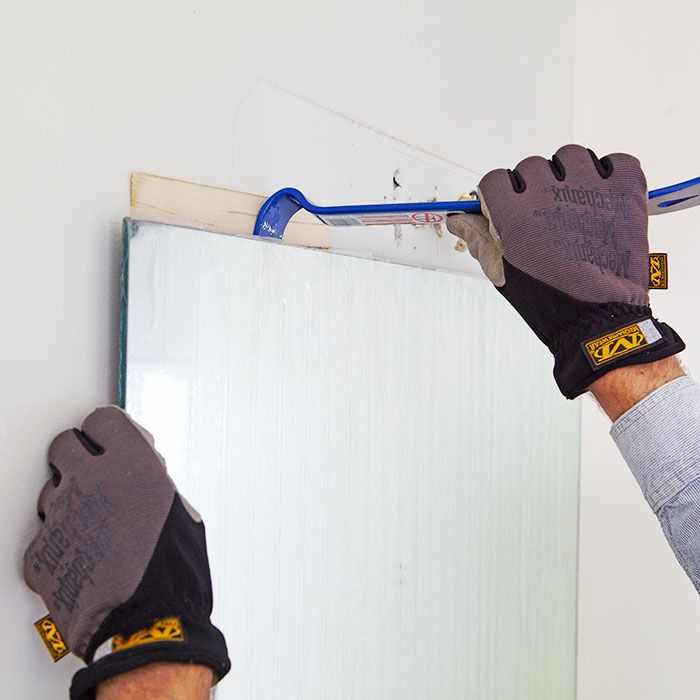
Switch and outlet plates, mirrors, bathroom exhaust vent grilles, towel racks, and mirror images are a few examples of relatively easy-to-remove items.
7. Cover Any Areas You Don’t Want to be Painted:

Tape off the backsplash, bathtub surround, ceiling, trim, and any other surfaces that won’t be painted.
Cover the bathroom vanity, sink, mirror, and flooring with drop cloths.
8. Snip in the Paint:

Paint all areas up against the painter’s tape with the 2-inch sash brush.
When painting against the tape, keep the brush relatively dry to prevent drips.
9. Apply Paint with a Roller:
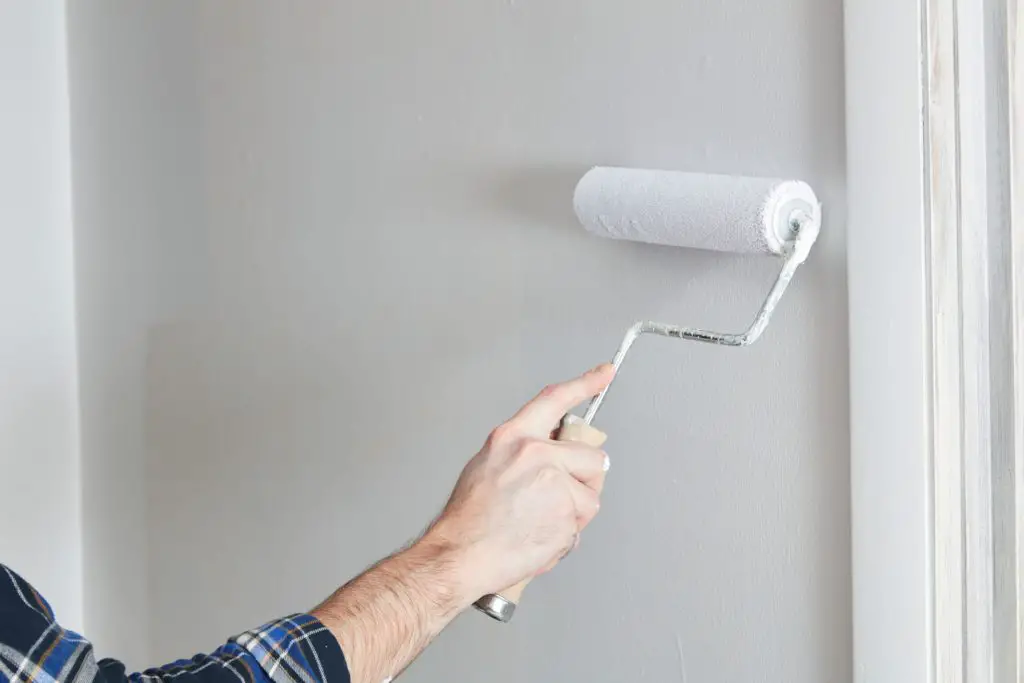
The roller cover should be placed on the rolling chassis.
Open the paint can then add paint to the paint tray’s bottom reservoir.
Roll out the roller cover on the upper portion of the paint tray after generously dipping it in the paint.
Fill in the blank spaces of the “W” on the wall with a series of roughly parallel roller passes after painting a square area measuring about 2 by 2 feet with angled strokes that roughly form “W.”
Make your way to a nearby area while starting from the west edge of the section.
10. Apply the Second Coat of Paint:

At least two hours should be given for the paint to dry.
In cool or damp weather, the paint will take time to dry, repeat the earlier painting process.
Before rolling out the walls, cut in the paint.
Remove the painter’s tape after the paint has dried.
11. Finishing Touches:

After the paint has dried, remove the painter’s tape.
Remove the drop cloths and dispose of any plastic sheeting thoroughly.
Replace towel bars, faceplates, the toilet tank, and any other equipment or accessories that you had previously taken apart.
Best Paint Type for Bathroom:
When painting a bathroom, you should also take the “finish” or “texture” of the paint into consideration.
In addition to giving a distinctive look, this coating serves a more significant purpose.
The following three best paint finishes for bathrooms are as follows:
1. Semi-Gloss:
A semi-gloss or high-gloss paint’s composition is made up of both oil- and water-based paints.
This mixture is a popular replacement for bathroom paints all over the world.
They have a surface that is highly reflective or shining.
The exterior won’t be able to retain moisture or water thanks to this gloss.
2. Satin Paint:
This type of paint shines a little less.
Due to its gentle glow, it is the best choice for both the bathroom and kitchen.
This is the perfect choice for people who want the effects of gloss paint without the eye-catching shimmer.
In addition, satin paint is simpler to clean with a damp cloth or sponge, preventing soap stains and watermarks from appearing on your walls.
3. Eggshell:
The most popular types of paint are the eggshell texture.
They are a standard choice because they are inexpensive and have little shine.
These water-based paints offer a soft reflective finish while being free of any oil solvents.
It is very beneficial to have high-gloss ceiling paint because it stops water seepage and the build-up of shower steam.
When touching the wall frequently, the eggshell texture is frequently encouraged.
This is the reason why this paint is frequently used on doors, window panes, or kids’ rooms.

Bathroom Colour Trends:
When we talk about different types of paint, we frequently consider paint colour.
The paint colour is one of many unimportant factors.
Here are a few colours that function as neutral or universal normal because colour preference is an acquired or adaptable taste.
1. A White Minimalist Bathroom:
The majority of bathroom fixtures are beige, white, or cream.
Bright white becomes a practical and affordable colour palette because of the hue.
They are the most obvious choice because they complement all other colours well.
2. Bathroom in lighter blue:
One such colour that inevitably finds its way into your bathroom is blue.
The colour is regarded as mellow and calming, creating the ideal atmosphere for the space.
They also mix thoroughly with both natural and artificial light adding a lively, bright spark.
3. Bathroom in Graphite Tone:
An option for those who are having trouble deciding on a colour
The subdued grey colour known as “graphite” strikes the perfect harmony between fashion and utility.
The bathroom’s flaws are allegedly concealed by the grey shade, which also provides a consistent colour tone.
Tips for bathroom Paint and Maintenance:
Choose your paint colours next, then your decor.
Be aware of your paint job; some paint textures necessitate several coats of primer before the first coat.
Hire consultants if you need assistance.
Using sticky tape and old newspapers, you can cover the bathroom’s tile and fixtures because paint drip damage will be prevented.
Get a sample first, then buy; you can see the colours more clearly if you look at this small patch of paint.
Avoid skimping on rollers and paintbrushes, superior outcomes will be achieved indirectly by using high-quality products.
Also read: How To Paint the Staircase Walls?
FAQ: How to Paint a Bathroom by Yourself:
A high-quality primer should be applied to your cabinets before you paint them if they have never been painted before.
Start taking the doors and drawers out, and tag them so you can put them back in the right spots when you’re finished.
Use a foam roller and trim brush for the details to get the best finish.
For a perfect finish, you should apply at least two coats to the cabinets.
Bathrooms require the use of a primer due to the moisture that showers emit.
The paint may peel if the bathroom paint primer is not applied first.
Look for bathroom-specific moisture-resistant primers.
Paint and primer are applied in essentially the same manner.
The ideal kind of paint for bathrooms is glossy, satin, or semi-gloss with a mildew-resistant admixture.
Your chosen paint ought to ideally endure for a while, but if you insist on a flat or matte finish, you have choices.
Remember to clean and prime the walls before painting for the best results.
Also read: How to Get Spray Paint Out of Clothes?
Conclusion:
That’s it! Follow these seven simple ways how to paint the bathroom.
Knowing how to paint a bathroom will make it easier to update your space on the budget, and it can be a simple task if you have the right tools, materials, and methods.
For crisp, tidy results, paint behind the toilet in particular.
The bathroom might be the last room you paint in your house because of the damp issues and difficult-to-reach corners.
We have covered everything you need to know, i.e., how to choose the right paint, how to paint bathroom cabinets and ceilings, and how to paint around toilets!
Have you explored any of these ways of painting the bathroom? Kindly share your thoughts in the comment section.
Section Under: How To