Panel a Wall is a great way to add considerable style and texture to a plain space or to disguise wall issues.
Panelling is available in two varieties: sheets and boards.
Sheets are usually 4 by 8 feet in size and boards range in width from 3 to 10 inches that might have square, tongue-and-groove, or shiplap edges.
Board thicknesses range from 3/8 to 7/8 inches with 1/2 and 3/4 inches being the most common.
Place the materials in the area for two to five days before installing panels to enable the wood to acclimate to the humidity level.
Once the panels are attached to the wall, it will assist to minimise any shrinkage or expansion issues.
Wall panelling can be installed in two different ways:
By affixing panels to the wall for both straight, flat wall surfaces and lightweight panels.
When skewing the panels onto the wall, build a metal grid frame.
Here you will understand wall panelling including the materials used and the price, we have also included the most fashionable wall panelling ideas for your home!
So, let’s begin!

Steps by Steps Process to Install the Wall Panelling:
Step 1- Make a plan:
Panelling a wall is a fun DIY project, but it’s crucial to plan and prepare your wall earlier.
As with other DIY projects, planning is crucial to attaining the appearance you desire.
Begin by drawing out your panel walls on a notepad to have a good concept of how they will appear.
You’ll keep on track and know how many panels you’ll need to finish your project.
Step 2- Measure your wall:
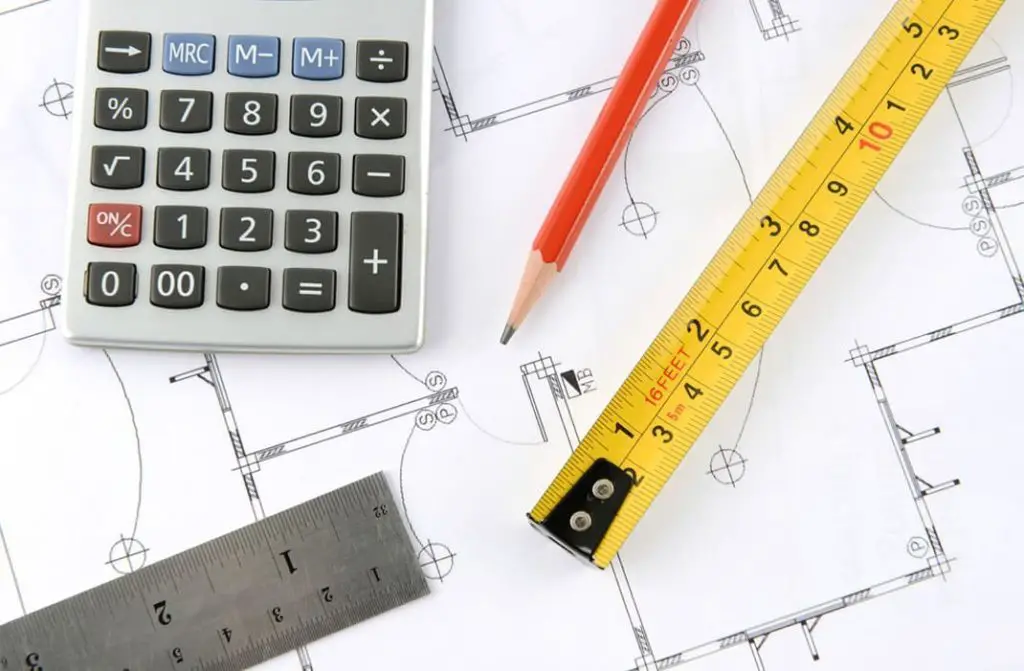
When panelling a wall, you must first figure out how many pieces of MDF wood you will need (home retailers such as Homebase, Wickes, and B&Q or your local timber merchants will stock various types of wood).
After you’ve established how much you’ll need, measure your walls.
Take your time and polish this one of the most challenging components of panelling.
Calculate the entire width and height of the wall, you wish to panel with your tape measure.
Choose the number of panels you need, some people like half-panelled walls, while others prefer the full-panelled aesthetic.
Remember to include top and bottom (frame) panels and vertical and horizontal panels.
It may sound obvious, but you correctly measure your walls.
Write down all your dimensions precisely and meticulously, down to the last centimetre to ensure your panels are even and give you a tidy finish.
Also, always double-check your dimensions to guarantee a perfect fit.
Take the dimensions of your wall and then measure it again for accuracy.
It is critical that your dimensions are exact and your panel sizes are even and perfectly suit the area.
Decide the space you want between each panel; this will help you identify how many panels you’ll require.
Step 3: Measure and Cut the Panels:

It’s now time to cut the panels that may vary depending on the size of your wall and the amount of panelling you want.
You may either cut the panels yourself or hire a professional (B&Q will cut MDF wood for free).
Cut the panels that will be horizontally positioned according to the specifications with a saw and mitre box at a 90-degree angle.
Repeat with the remaining vertical panels, now sand the ends smooth.
Step 4: Smooth your Walls Using Sandpaper:
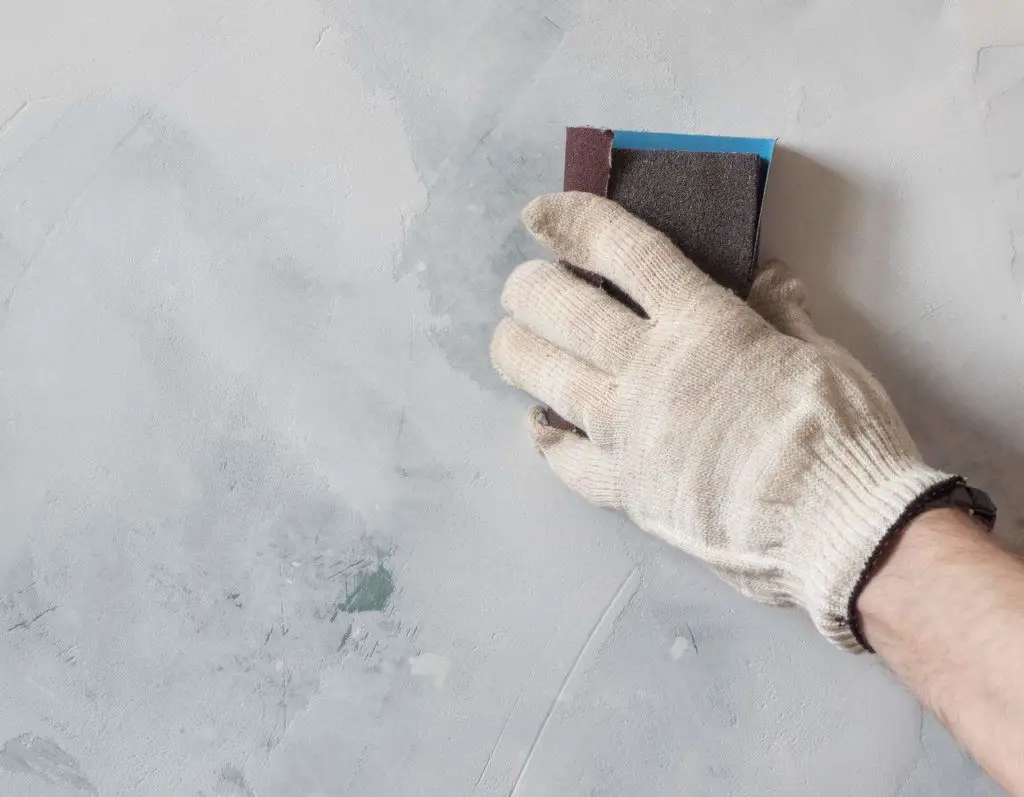
Then sand and smooth down your walls.
If you have an electric sander on hand, you may use that instead of sandpaper.
Prepare your walls by sanding and smoothing them down before attaching the panels.
This eliminates any lumps or bumps that could otherwise show finished.
Step 5: Install the Panels on your Wall:

Begin by putting in the frame.
First, the bottom panels, then the top.
Place the panel against the indicated wall and use a laser level to confirm it is correct.
Apply strong glue on the back and adhere it to the wall, being careful to press firmly and allow it to dry.
Continue to build vertical panels first, then horizontal panels.
Stick the panels to the wall with No More Nails glue, but use both nails and adhesive for added stability and grip.
Step 6: Fill in the gaps:

After you’ve installed the panels, go over them with the decorator’s glue to fill in any gaps, cracks, or holes.
If any gaps appear, you may need to fill them on the sides (don’t worry, you can disguise this with paint).
If you have a few panels that are a few millimetres too short, just fill them with Polyfilla before sanding to create smooth, seamless joins.
Once filled, sand it down to finish the effect.
Step 7: Apply Paint to your Wall Panel:
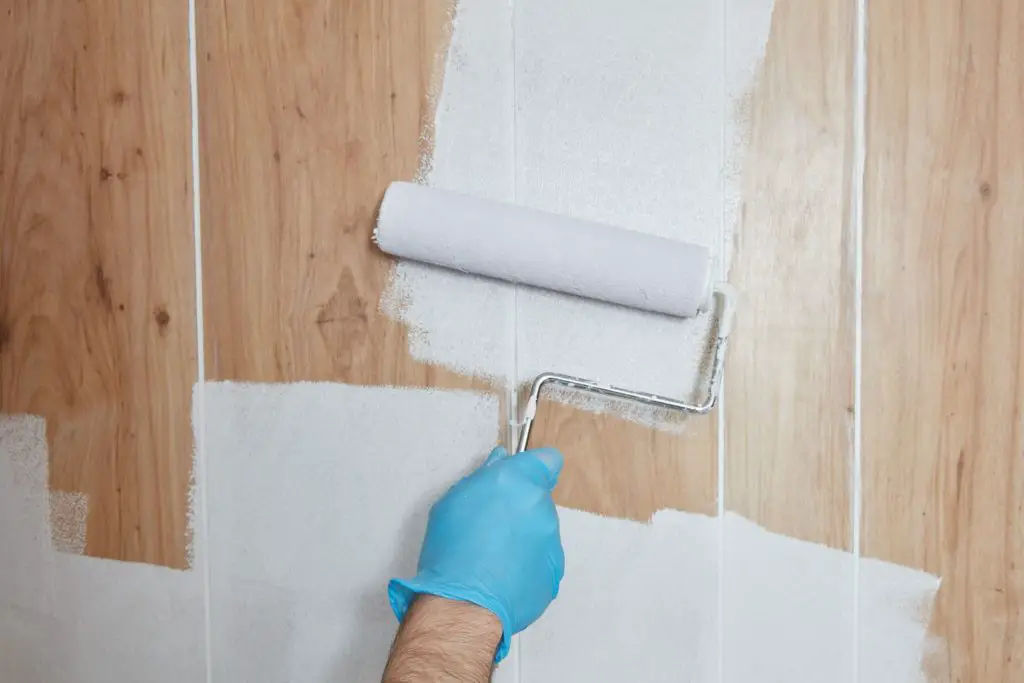
Now comes the exciting part!
Ensure the glue, decorator’s caulk, and filler (if used) are dry and set before painting.
Choose scene-stealing colours of inky blue, green, or soft pink for an Instagram-worthy appearance.
Scroll through some of our favourite outfits for ideas.
Different Types of the Wall Panels:
Most wall panelling materials are quite durable and easy to maintain.
They may also be used on the ceiling to add an elegant element to the area.
The wall panels are either fastened to the wall directly or put on a metal grid frame that is bolted to the wall.
The following are some of the most popular wall panelling materials on the market as follows:
1. Natural Wood Panels:
Natural wood is a popular wall panelling material because it adds warmth, richness, and elegance to any space.
The best thing about it is that it can be sanded, sealed, and polished back to its original state.
2. MDF Panels:
MDF often known as composite wood is a low-cost material created by combining small pieces of wood with resins under high heat and pressure.
The most notable benefit of using MDF is that it has the appearance of real wood.
The benefit is that it softens the design while also effectively insulating sound.
3. PVC Panels:
Polyvinyl chloride is used to make PVC panels because of its waterproof nature, it is great for damp areas like the kitchen and bathrooms.
PVC panels are made of polyvinyl chloride.
Its waterproof quality makes it ideal for wet places such as the kitchen and bathrooms.
4. Mirror and glass panels:
Glass panels may add a sense of lightness and space to your house.
Since of their sleek and minimalist design, clear glass, stained glass, lacquered glass, and frosted glass panels have become more fashionable.
Tips for Maintaining Wall Panel:
- Dust the wall panels regularly with a feather duster or a dry, lint-free cloth.
- It should also be vacuumed every few weeks.
- Make sure the panelled walls are not in direct sunlight.
- Fabric-printed paper and laminate may fade when exposed to sunlight.
- If the space gets a lot of direct sunshine, use thick day curtains or coverings.
- Spills and splatters should be wiped up as soon as possible using a soft cloth and mild soapy water.
- Do not leave alkali-based cleaning agents or heavy-duty solvents on wood panels for an extended period.
- Every year, metal wall panels should be inspected to remove dirt and evaluate joints.
- Remember to replace any broken panels or trim as quickly as possible.
Also read: How to Build a False Wall for TV and Fireplace?
FAQ: How to Panel a Wall?
DIY wall panelling is a hot craze right now, and it comes in a variety of designs, so there’s one to fit any home.
It’s pretty simple to put up, but it will completely change your room.
Panelling is an excellent way to add individuality to a modern kitchen.
This room has a polished contemporary aspect thanks to the large tongue and groove panels.
If you want to conceal uneven walls, full wall panelling is ideal.
It also works well for concealing the pantry door.
Installing wainscoting may appear to be a difficult task, but DIY wainscoting is a viable alternative for beginners.
The overall cost of wainscoting is also substantially lowered if you perform the work yourself rather than employing a professional.
Also read: How to Decorate a Slanted Wall Bedroom?
Conclusion:
Wall panelling may take several shapes, so it’s essential to conduct your research and select the best compliment for your house.
Then don’t be discouraged if you’ve never done it before with a little know-how, you can quickly and easily create attractive wall panels with fantastic results.
Wall panelling gives home flair, charm, and individuality.
Follow our instructions to panel a wall with MDF wood, if you’re inspired to install some bathroom wall panels or elegant bedroom wall panels.
Have you ever used one of these methods how on a wall panel?
Please share your thoughts in the comments!
Section Under: How To