Hardwood flooring is a common surface covering material install in the bathroom, it is a long-lasting, resilient, and lovely natural aesthetic.
It has complications when utilized in wet or humid areas, such as toilets.
Flooring is the most important aspect of any bathroom renovation as it contributes significantly to the overall appearance of the area.
However, it can also assist to protect your flooring from water damage and make them simpler to clean.
Hardwood flooring is a possibility for the bathroom.
Meanwhile, many individuals are still cautious to lay hardwood in their bathrooms.
It will be difficult to maintain the flooring clean and free of water damage with a little care and upkeep hardwood flooring in a bathroom can be a beautiful and functional addition to your house.
In this post, I’ll discuss installing hardwood flooring in a bathroom step by step.
So, Let’s Get Started!
Tools require for Hardwood Flooring in a Bathroom:
These are all the tools you’ll need to install hardwood floors in your bathroom as follows:
- Measuring tapes.
- Circular saw with a pencil.
- Carpenter’s skill.
- Stapler for Drilling.
- Stumbling obstacle.
- Hammer.
- Pry bar.
- Laminate cutting circular saw blade.
- Putty blade.
- Flooring made of hardwood.
- Underlayment.
Step-by-Step Process to Install Hardwood Flooring in a Bathroom:
Following these easy methods will result in gorgeous hardwood floors in no time.
1. Determine the Area:

The process of measuring or determining the size of anything is known as measurement.
In this instance, you’ll need to take measurements of your bathroom.
This will provide you with an approximation of the hardwood flooring requirement.
Begin by measuring the bathroom’s length and breadth, then, determine the size of any cubbyholes or other places that require coverage.
Consider any equipment that will need to be replaced before installation can start because you can’t place hardwood flooring beneath a toilet.
2. Decide How You Want to Install Wooden Floors:

Placing wooden floors in a bathroom is a major undertaking, there are three approaches you may take.
The first option is to install using adhesive.
This is the most typical method of install of hardwood flooring in the bathroom, it is the simplest and least expensive alternative.
The second method is a nail-down placement.
This is a less difficult alternative, but it is worthwhile if you want your floors to endure longer.
This technique is appropriate for high-traffic areas since nails make a more stable connection.
The third method is a click-lock placement.
It is one of the most popular methods of installing wooden floors.
It is also the simplest and most economical alternative, however, a flat surface is required.
If your bathroom is not level, this method is not for you.
3. Choosing the Best Hardwood Flooring:
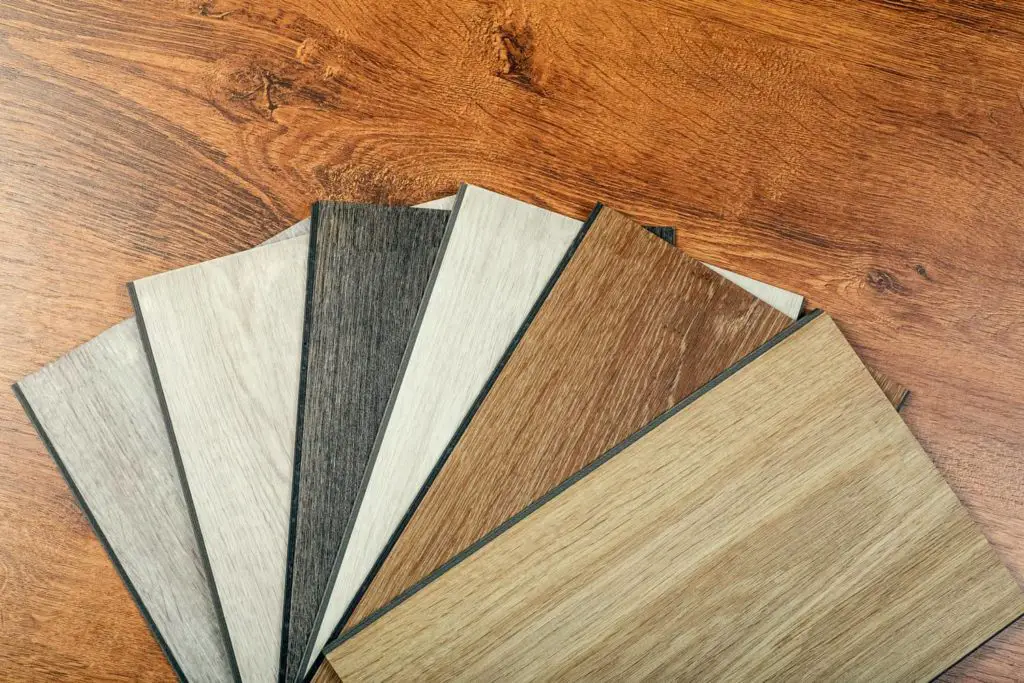
Now you have determined the square footage of your bathroom, it’s time to select the appropriate hardwood flooring.
There are several hardwood floor varieties.
Engineered hardwood, solid hardwood, and bamboo are the three most prevalent varieties.
Manufactured hardwood is created by glueing together many layers of wood.
This increases its resistance to moisture and temperature fluctuations.
A single piece of solid hardwood is the most common form of hardwood flooring since it is simple to install and extremely durable.
Bamboo is the grass that has been transformed into flooring. It is extremely durable and resistant to dampness.
You may install whatever sort of hardwood flooring in the bathroom.
4. Prepare the Surroundings:
It’s time to prepare the space after you’ve decided to lay hardwood flooring.
All fixtures such as toilets and sinks must be removed.
Next, with a pencil outline the area where the hardwood flooring will be installed.
Since you’re working in a narrow room, it’s critical to be as precise as possible.
After you have designated the area, cut along the lines using a saw.
However, be careful not to cut too thoroughly.
If you don’t want to damage the subfloor use safety glasses to protect your eyes as well.
5. Take Out the Old Flooring:

When you’ve settled on the ideal hardwood flooring, it’s time to rip out the old.
This is a critical step since you will need a good, flat surface to perform on.
Start by removing any fixtures in the area first.
The floorboards can then be removed using a prying bar, take care not to scratch the wall.
Start by removing any nails or staples keeping the previous flooring in place.
Then, remove the old flooring.
If it’s bonded down, a heat gun may be required to release the adhesive.
Finally, you should have a nice level working surface.
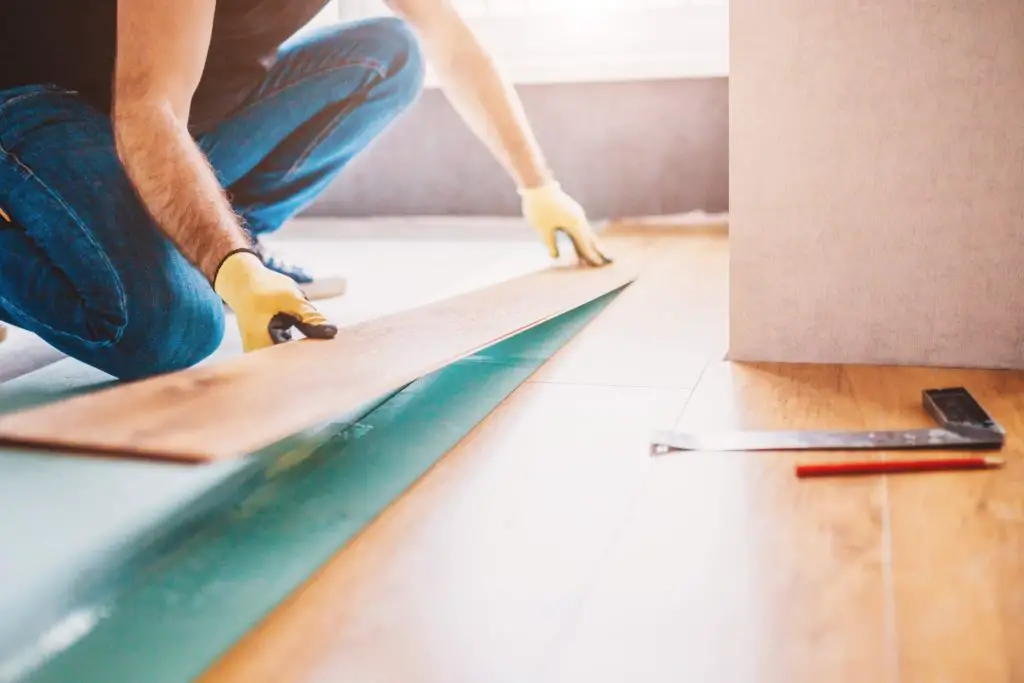
6. Setup the Underlayment:

Underlayment is a substance installed beneath your hardwood flooring.
It secures the subfloor while also giving your hardwood floors a smooth surface.
There are several types of underlayment options, so select one appropriate to your hardwood flooring.
Insert the underlayment and place it in the area where the hardwood flooring will be laid on the bathroom surface.
Then, using a scalpel edge, cut it to measure.
Check that the underlayment is level before moving on to the next stage.
As hardwood floors are susceptible to moisture, proper underlayment installation is critical.
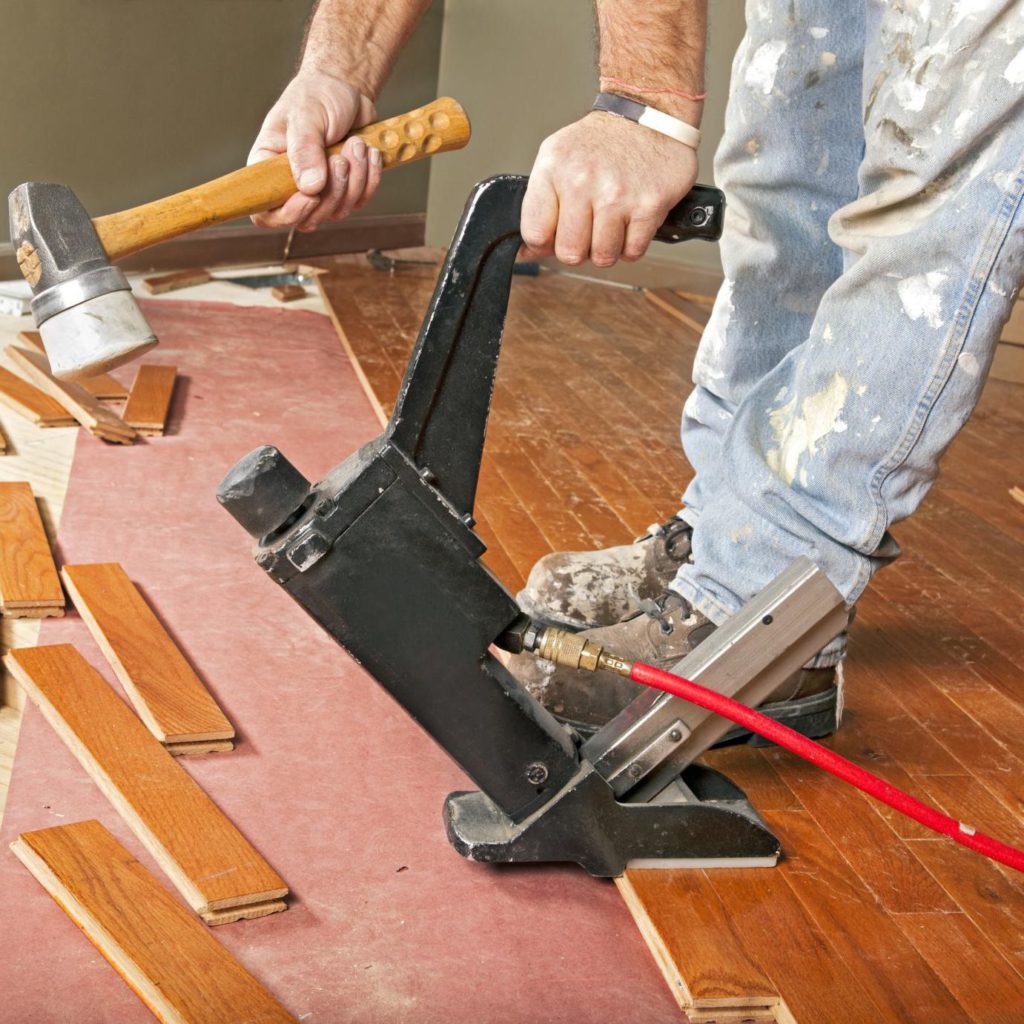
7. Install the hardwood flooring:
It is now time to put in the hardwood flooring.
Begin by installing a vapour barrier, it will keep moisture off the flooring.
The first line of hardwood planks should be laid down, ensure the planks are level by using a level.
Once the first row of hardwood planks is placed, continue putting them until the floor is finished.
Allow ample room around the perimeter for growth.
As hardwood flooring expands and contracts with variations in temperature and humidity, ample room around the borders is required.
8. Install the baseboards:

Baseboards are trim pieces that run down the bottom of the wall.
Fixing any holes between the floor and the wall preserves the wall.
Installing baseboards is a simple task.
Now, the hardwood flooring in the bathroom has been installed, you must place the baseboards.
To begin, measure the length of the wall and cut the baseboard accordingly.
Next, using finishing nails, secure the baseboard in place.
Use a nail set to ensure that the nails are flat with the area of the baseboard.
Lastly, fill the spaces between the baseboard and the wall with caulk, however, if you have put baseboard to the previous hardwood flooring you must first delete it.
9. Finishing:

Your hardwood floors will be laid after the baseboards are set!
There are a few more actions you must do to complete the task.
Cover any gaps or cracks with wood filler afterwards.
Next sand the floor’s surface until it’s smooth, therefore, you do not have to sand the entire floor.
Just concentrate on the places with gaps or fractures.
Now, vacuum up the dust and wipe the floor with a moist mop.
Spread a coat of finish when the floor has dried.
This will assist to preserve the flooring while also making them appear glossy and fresh.
Now, you understand how to install hardwood floors in a bathroom.
How to Protect Bathroom Hardwood Flooring from Decay:
One of the most destructive components of hardwood floors is water.
Water may leadwood to expand and deform as well as mould and germs to grow but before that, some critical points you may utilize as hardwood flooring in your bathroom.
This will assist you in protecting the flooring.
Always use a mat:
In the bathroom, you should always use a rug around the sink and bathtub.
This will aid in water absorption while also keeping the floor dry.
Clean up spills asap:
You should always wipe up spills as quickly as possible.
Water may harm the floor and encourage the growth of mould and mildew.
Utilize a humidifier:
A humidifier may assist in keeping the air in your bathroom moist.
This prevents the wood from drying out and cracking.
Use a fan:
It aids with the circulation of air in your bathroom.
This will help to avoid mould and mildew development.
Maintain the bathroom clean:
The bathroom should always be kept clean.
Mould and mildew may thrive in moist, filthy settings.
Fix any leaks:
If your bathroom has any leaks, you should repair them as quickly as possible.
Water may harm the floor and encourage the growth of mould and bacteria.
Installing a drain cover:
A drain cover can assist keep water from spilling onto the floor.
This will assist in maintaining the floor dry and also aid to avoid mould and mildew formation.
Buy in a dehumidifier:
A dehumidifier can assist in removing moisture from the air in your bathroom.
This will aid in the prevention the mould and mildew growth.
Advantages of Hardwood Flooring in the Bathroom:
- Hardwood flooring is water-resistant and can withstand spills and splashes without warping or buckling.
- They are quite easy to keep clean.
- Hardwood flooring is naturally non-slip, hence they are a good alternative for bathrooms.
- They will enhance the attractiveness and value of your property.
- They also come in a variety of colours and styles to match any style.
- Hardwood flooring will survive for many years.
Disadvantages of Hardwood Flooring in the Bathroom:
- Showers and bathtubs are notorious for splashing.
- Water will slip down if your floor is not fully flat.
- If moisture penetrates below the surface, it can reach critical elements on the floor and begin to enter the floorboards and underlayment.
- Standing water from splashing puts the most emphasis on the bathroom, humidity can be just as destructive.
- Since the bathroom is very damp, mould and mildew will always be a problem.
Also read: Grey Flooring Living Room Ideas!
FAQ: How To Install Hardwood Flooring in the Bathroom?
Q1. Is it necessary to install hardwood flooring beneath the toilet flange?
A wax ring should always be installed beneath the toilet flange.
This will help build a barrier and prevent water from leaking over.
Q2. Can hardwood flooring be installed across a radiant baseboard heater?
Hardwood flooring may be installed over a radiant baseboard heater.
But, you should first confirm with the provider that their product is appropriate for your flooring.
Q3. Can I put hardwood flooring in a bathroom without a window?
Hardwood flooring may be installed in a bathroom without a window.
Still, you must use caution to ensure that the room is appropriately ventilated.
It also works great if there is any kind of airflow.
Also read: How to Paint a Bathroom?
Conclusion:
The installation process for hardwood flooring in your bathroom might be a great way to improve its appearance.
If you’re considering adding hardwood flooring to your bathroom, follow these simple steps to guarantee a smooth installation.
And if you do have any issues during the installation, we have some advice to protect your hardwood flooring from harm.
You can maintain the condition of your bathroom hardwood flooring for a long period.
If the flooring has been damaged then you should seek expert assistance with renovations.
So, what are you looking for? Begin planning your bathroom renovation as soon as possible!
Section Under: How To