Looking for simple and affordable Halloween mirror ideas?
of course, it is entirely removable once the spookiest Halloween of the year is over, then this Halloween craft is right for you.
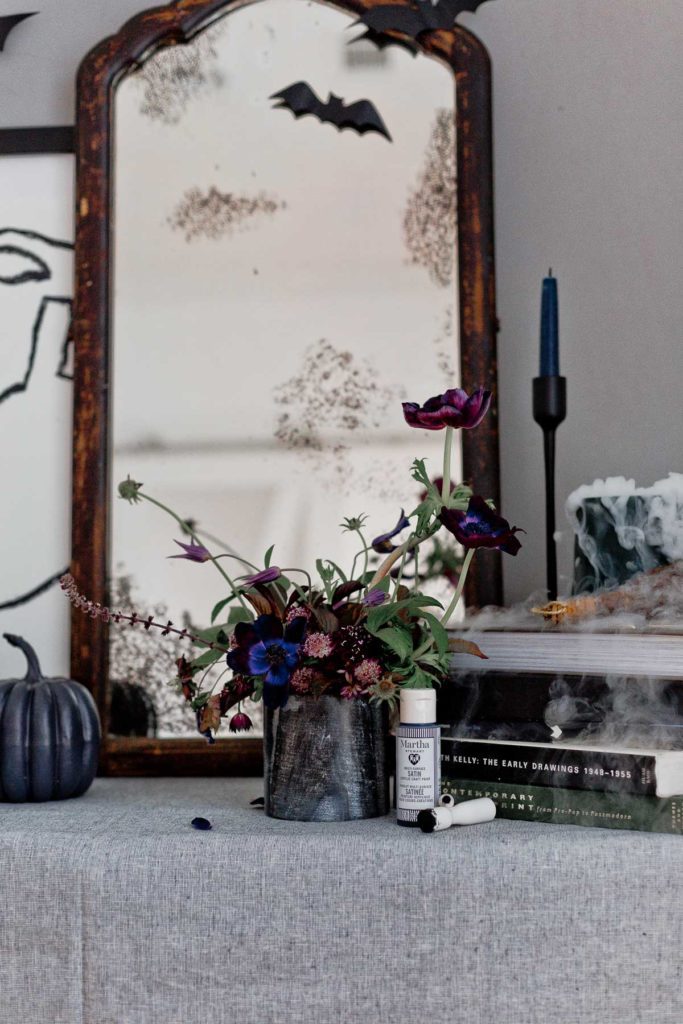
I wanted to make some spooky yet basic Halloween decor for the entrance this year.
When Halloween was over, I began thinking about how I might make something inexpensively cute that I wouldn’t have to haul up to the attic to store for the next year.
After thinking about a few concepts, I developed this cheap and simple Halloween home mirror DIY for a spooky mirror that can be used with any existing mirror in your home because the design is reversible.
To create your own, read through the step-by-step instructions for my DIY Halloween mirror.
DIY Halloween Mirror:
Check out this Halloween stencil package with spiders, pumpkins, bats, and more if you’re looking for Halloween stencils other than the crackle pattern I used for this project.
These specific paints can be used on glass (which also includes mirrors), canvas, wood, paper, metal, terra cotta, and cloth.
The same is true with stencils and silkscreens as they are washable, reusable, and suitable for a variety of surfaces.
Therefore, excellent supplies to keep in your craft room.
Steps by Step Instructions for Making a Halloween Mirror:
For projects like this, I adore using stencils and silkscreens since it greatly reduces the time and work required to create the design.
It can repeat a pattern far more skilfully than I ever could with a small brush and a steady hand.
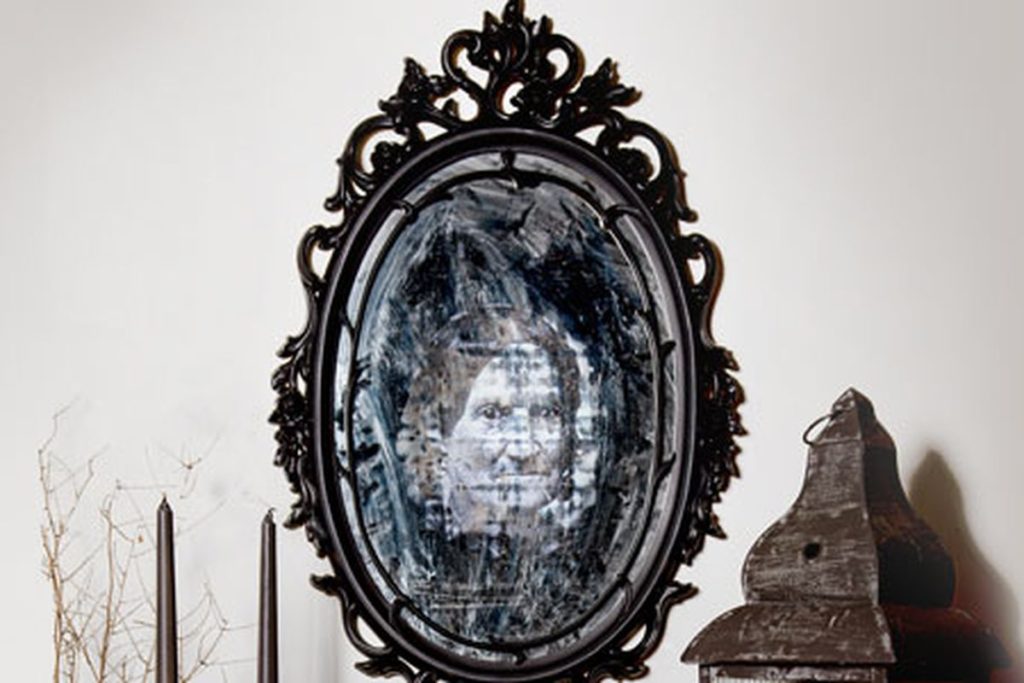
1. Take an antique mirror:
Make sure your mirror is clean and clear before you begin.
The fact that the mirror appears a little soiled in the photograph is because it is an antique and the stains on it just cannot be removed.
Still, I thought it fit the project’s tone nicely, so I don’t mind.
Anyway, after cleaning the Halloween mirror, take off the silkscreen’s sticky backing.
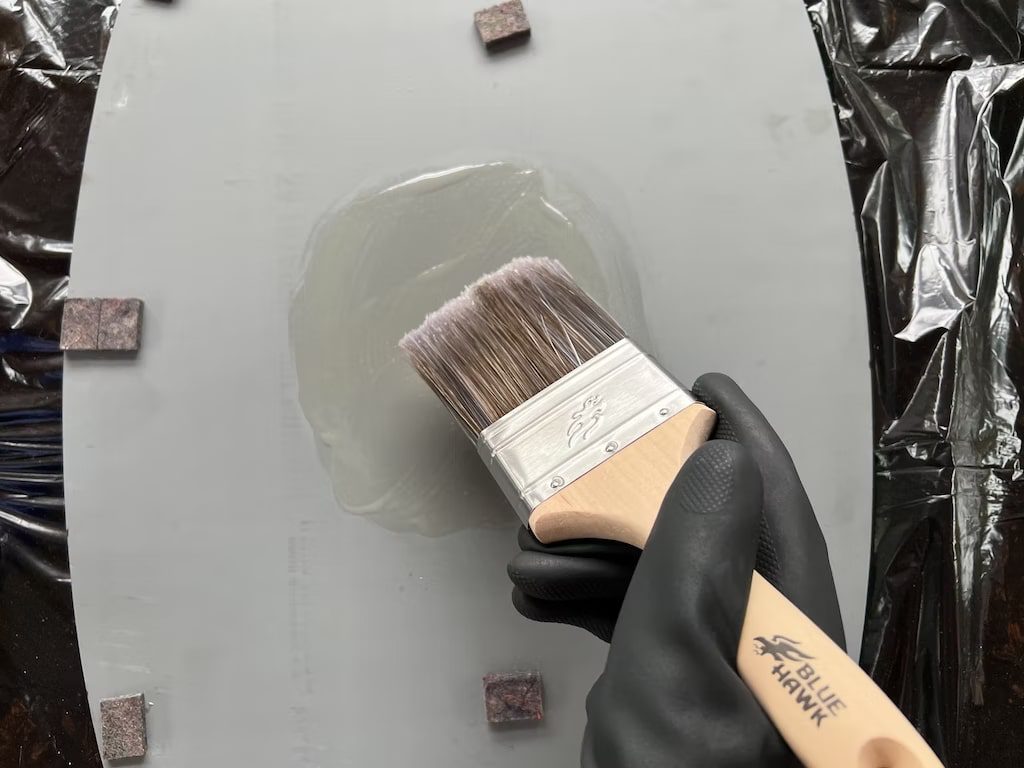
2. Apply the adhesive:
Apply the crackling adhesive silkscreen to your mirror’s surface.
Make sure to use your hands to push the silkscreen down completely all the way around.
This will guarantee that it is firmly glued to the surface before painting.
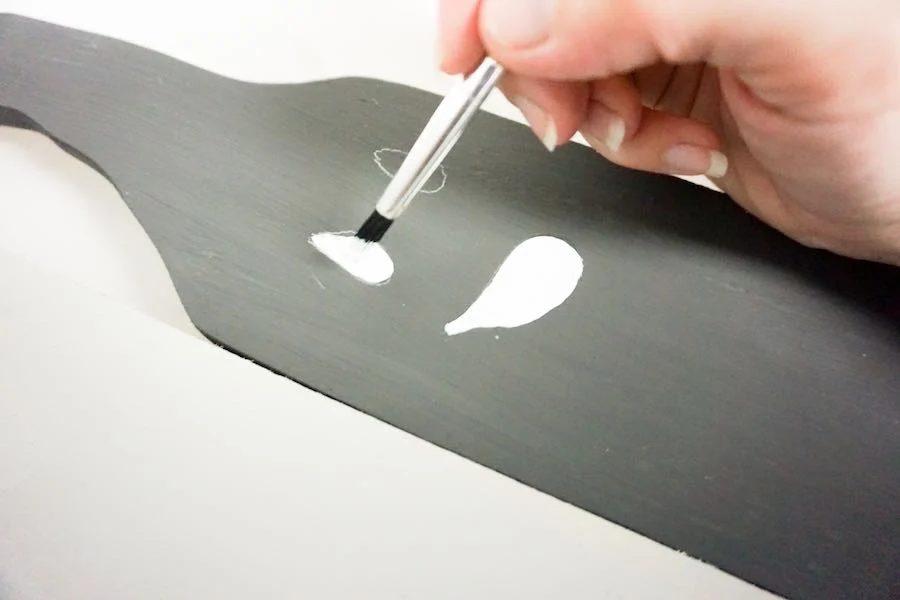
3. Paint paper with acrylic:
After that, paint on a paper plate or paint palette using a tiny amount of Multi-Surface Satin Acrylic.
I choose the colour Black Belt out of the 78 that are offered for this paint for my project.
Before applying a light coat of paint to the silkscreen, dip your brush into the paint and wipe any leftover paint onto your paint palette.
No need for more paint layers for this job; one coat is perfect, especially since we’re trying for an aged/weathered appearance.
4. Peel off silkscreen:

While the paint is still wet, carefully peel back the silkscreen from the mirror surface to expose the finished crackling design.
5. Add spooky Halloween:
A repeat of steps 3 and 4 will give the mirror the aged appearance that is ideal for Halloween home decor.
You can wash the silkscreen with soap and water when you’re done.
while the paint is still wet, let it dry, then reattach it to its backing so it can be stored.
You can now use your eerie Halloween mirror.
You get extra points if you decorate the space around the mirror with a few paper bats.
Tips for Creating the Look of an Antique Mirror:
- I would advise choosing bits at random to paint onto the mirror if you want your crackle to have an aged or worn appearance like mine
- This contributes to its old and antique appearance.
- I found that using somewhat less paint on the dauber to fade the colour out at the edges can also aid in creating an old, antique mirror like mine.
- If you make a mistake, you can try again by scraping the paint off the mirror’s surface with a razor blade after it has dried without causing any damage.
- If the design created looks too purposeful, oddly shaped, etc., this is also an excellent tip for removing the extra patterns from one region of the mirror.
Also read: How to Panel a Wall?
FAQ- Halloween Home Mirror:
Q1. How can a mirror look foggy for Halloween?
I lightly sprayed hairspray on the mirror before dusting it with baby powder.
And I took my Swiffer off the cleaning rack and delicately brushed the powder across the surface rather than clumping it.
I did this three times to get a decent build-up that produced the exact foggy appearance.
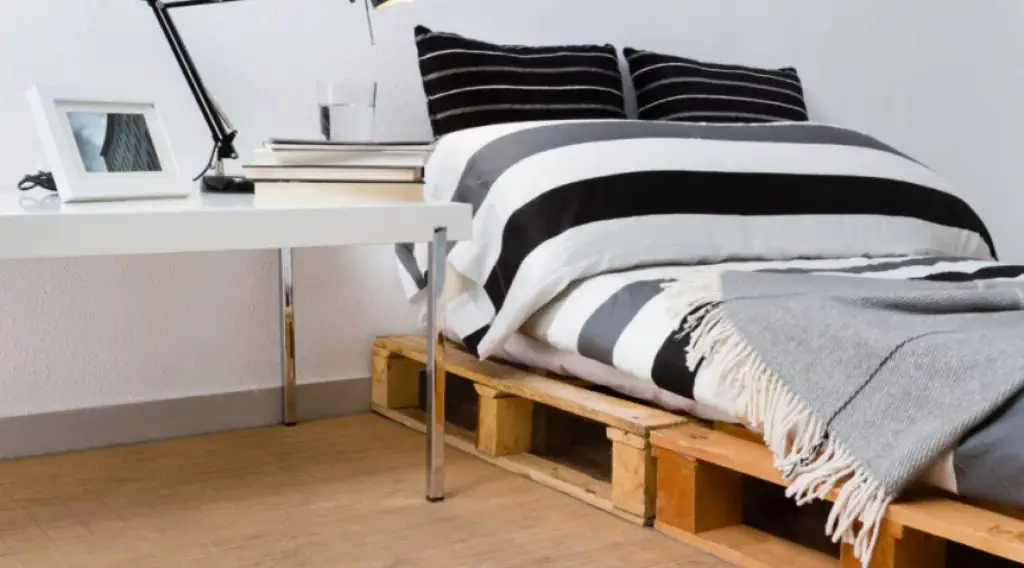
Q2. How can I create a Halloween vibe in my room?
The most straightforward approach to creating a creepy atmosphere in your bedroom is using lights.
A little bit of orange or purple lighting gives the room a sinister vibe.
String lights are great because they are inexpensive, but you could also utilize unique lights.
Q3. What are some things we shouldn’t do on Halloween?
These activities to avoid on Halloween mirror:
Put on a cat costume, and get with a body-painted person.
Take a companion home.
Put a costume on your pet.
Be within. prank your ex’s home.
Halloween can serve as an excuse to wear anything at all.
Also read: Fall Decor Ideas
Conclusion:
I wanted to make some creepy yet easy Halloween home mirrors for the entrance this year.
When Halloween was over, I began thinking about how I might make something inexpensively cute that I wouldn’t have to haul up to the attic to store for the next year.
After musing over a few concepts, I developed this cheap and simple Halloween DIY for a spooky mirror that can be used with any existing mirror in your home because the design is reversible.